Getting started in photography as a
beginner isn’t for everyone, but it can be easily learned if you stick with it.
Here are 11 simple ideas to get you on your
way towards your first professional shot.
You might want to capture family portraits,
headshots, weddings, or simply document everyday moments, and this guide will
help you navigate the basics and start building your photography skills.
1.
Stop Overthinking and Just Go for It
Grab a camera. Any camera and take the
first shot.
Don’t worry about the quality of the image,
that will come later.
If you’ve already done that, you’ve crossed
the first hurdle that stops many people from starting photography - overthinking.
Wannabes spend too much time researching
the best camera gear, lenses, and software without ever taking a single shot.
The key is to stop overthinking and just
go for it
The best way to learn photography (or
anything really) is by doing.
Take photos every day, experiment with
different angles, and don’t be afraid to make mistakes.
As you continue to shoot, you’ll naturally
start to understand composition, lighting, and other essential aspects of
photography.
2.
Choosing Your Beginner Camera and Gear
Yes, it still doesn’t matter which camera
you took your first shots with. What matters is taking those shots and getting
out there.
If you’re still deciding where to start,
here are some simple points to help you decide between a mirrorless camera and
a DSLR.
Before you spend your life savings, start
small while you explore if photography is fully for you.
Remember, don’t overthink it.
Here’s a simple guide to help you:
Don’t Worry About the Brand
·
Don’t get too picky about the brand
when you’re starting out.
·
The big three—Canon, Nikon, and
Sony—all offer fantastic cameras and lenses.
·
Over time, you’ll develop your
preferences, but when you’re starting, focus more on learning and less on brand
loyalty.
·
All three brands are well-established
and capable of taking amazing photos.
Budget
·
If budget is tight:
Look at entry-level DSLR models. They offer great
value for money, and you can often find used or older models at affordable
prices.
·
If you can spend a bit more:
Consider a mirrorless camera, especially if you
want a more compact system with modern features.
·
Buy used:
You can always find cheaper priced, but good shape
cameras in your local area. This could keep your initial investment low as you
trial your equipment.
Portability
·
If you want something light and easy
to carry:
A mirrorless camera is likely
the better choice since it’s smaller and more portable.
·
If size and weight aren’t a big
deal:
A DSLR might work just fine,
though it tends to be bulkier.
Learning Style
·
If you like immediate feedback:
A mirrorless camera’s electronic viewfinder will
show you exactly how your settings affect the shot, which can be great for
learning.
·
If you prefer a traditional
experience:
A DSLR’s optical
viewfinder gives a more natural view, but you’ll need to check the image after
taking the shot to see how your settings turned out.
Long-Term Investment
·
If you’re unsure if photography is a
long-term hobby:
A more affordable
DSLR could be a safer initial investment.
·
If you plan to grow into
photography:
A mirrorless camera
may give you more flexibility and modern features as you progress.
Available Lenses
·
If having many lens options matters:
DSLRs have been around longer, and
can offer a broader range of lenses, including affordable options that will
still provide excellent results.
·
If you don’t need lots of lenses
right away:
There are still plenty
of beginner options for mirrorless lenses, but they may be a bit higher in
price.
·
Ditch the kit lens:
The kit lens will not help you. Get the cheapest,
best quality lens you can afford. This is going to be your best investment,
even an entry-level prime lens.
Test Both!
·
If possible, visit your local camera store
or rent both types of cameras.
·
Hold them, try the viewfinders, and see
how they feel in your hands.
·
A camera that feels right and is easy
to use will help you stick with learning photography.
Other Accessories:
·
Memory Card:
This is a must. Use a reliable memory card with
sufficient storage and speed to handle high-resolution images and quick
shutters. Something with fast write speeds is the way to go.
·
Reflector:
While not necessary to start out, this can be a
great tool for controlling lighting, especially in portrait photography and
great for practice.
·
Tripod:
For stable shots, especially in low-light
conditions or long exposures, depending on what type of photography. This could
help reduce camera shake and allow for more creative compositions.
·
Camera Case:
Get something cheap in price but one that will
protect your equipment. You don’t need to break the bank here.
3. Get Familiar with Your Camera Settings and the
Exposure Triangle
If you’ve bought your camera and gear, what
next?
Mastering your camera settings by
getting out there and using your camera.
Here is a simple breakdown of shutter
speed, aperture, and ISO, collectively known as the Exposure Triangle.
Shutter Speed
Think of this as the amount of time your
camera’s eye stays open.
·
Fast shutter speeds
(e.g., 1/1000 sec) freeze action—great for
fast-moving subjects like sports or wildlife.
·
Slow shutter speeds
(e.g., 1/30 sec) create motion blur—ideal for
creative effects like showing the movement of water or light trails at night.
·
Visual analogy:
Imagine quickly opening and closing your window
blinds (fast shutter) versus leaving them open for a while to let in more light
(slow shutter).
Aperture
This is the “pupil” of your camera,
controlling how much light enters.
·
Wide apertures
(e.g., f/1.8) let in more light and create a
shallow depth of field—making the subject stand out against a blurred
background (perfect for portraits).
·
Narrow apertures (
e.g., f/16) let in less light and keep more of the
scene in focus—best for landscapes where you want everything sharp.
·
Visual analogy:
Think of squinting versus fully opening your
eyes—when you squint, you see less, but everything might appear sharper.
ISO
This measures your camera’s sensitivity
to light.
·
Low ISO
(e.g., ISO 100) is best in bright light—gives you
cleaner, noise-free images.
·
High ISO
(e.g., ISO 3200) helps in low light—useful in dark
environments but can introduce grain or noise into your photos.
·
Visual analogy:
ISO is like turning up the volume on a speaker. A
low volume (low ISO) is clear and crisp, but turning it up too high (high ISO)
can cause distortion or noise.
4. Light-Up
Your Photography
Key point: Lighting is everything in
photography.
·
The quality, direction, and intensity of
light affect the mood and clarity of your images.
·
There are three light styles or modes
and you’ll find your preference as you grow.
·
Don’t be afraid to get creative and try
out different lighting styles.
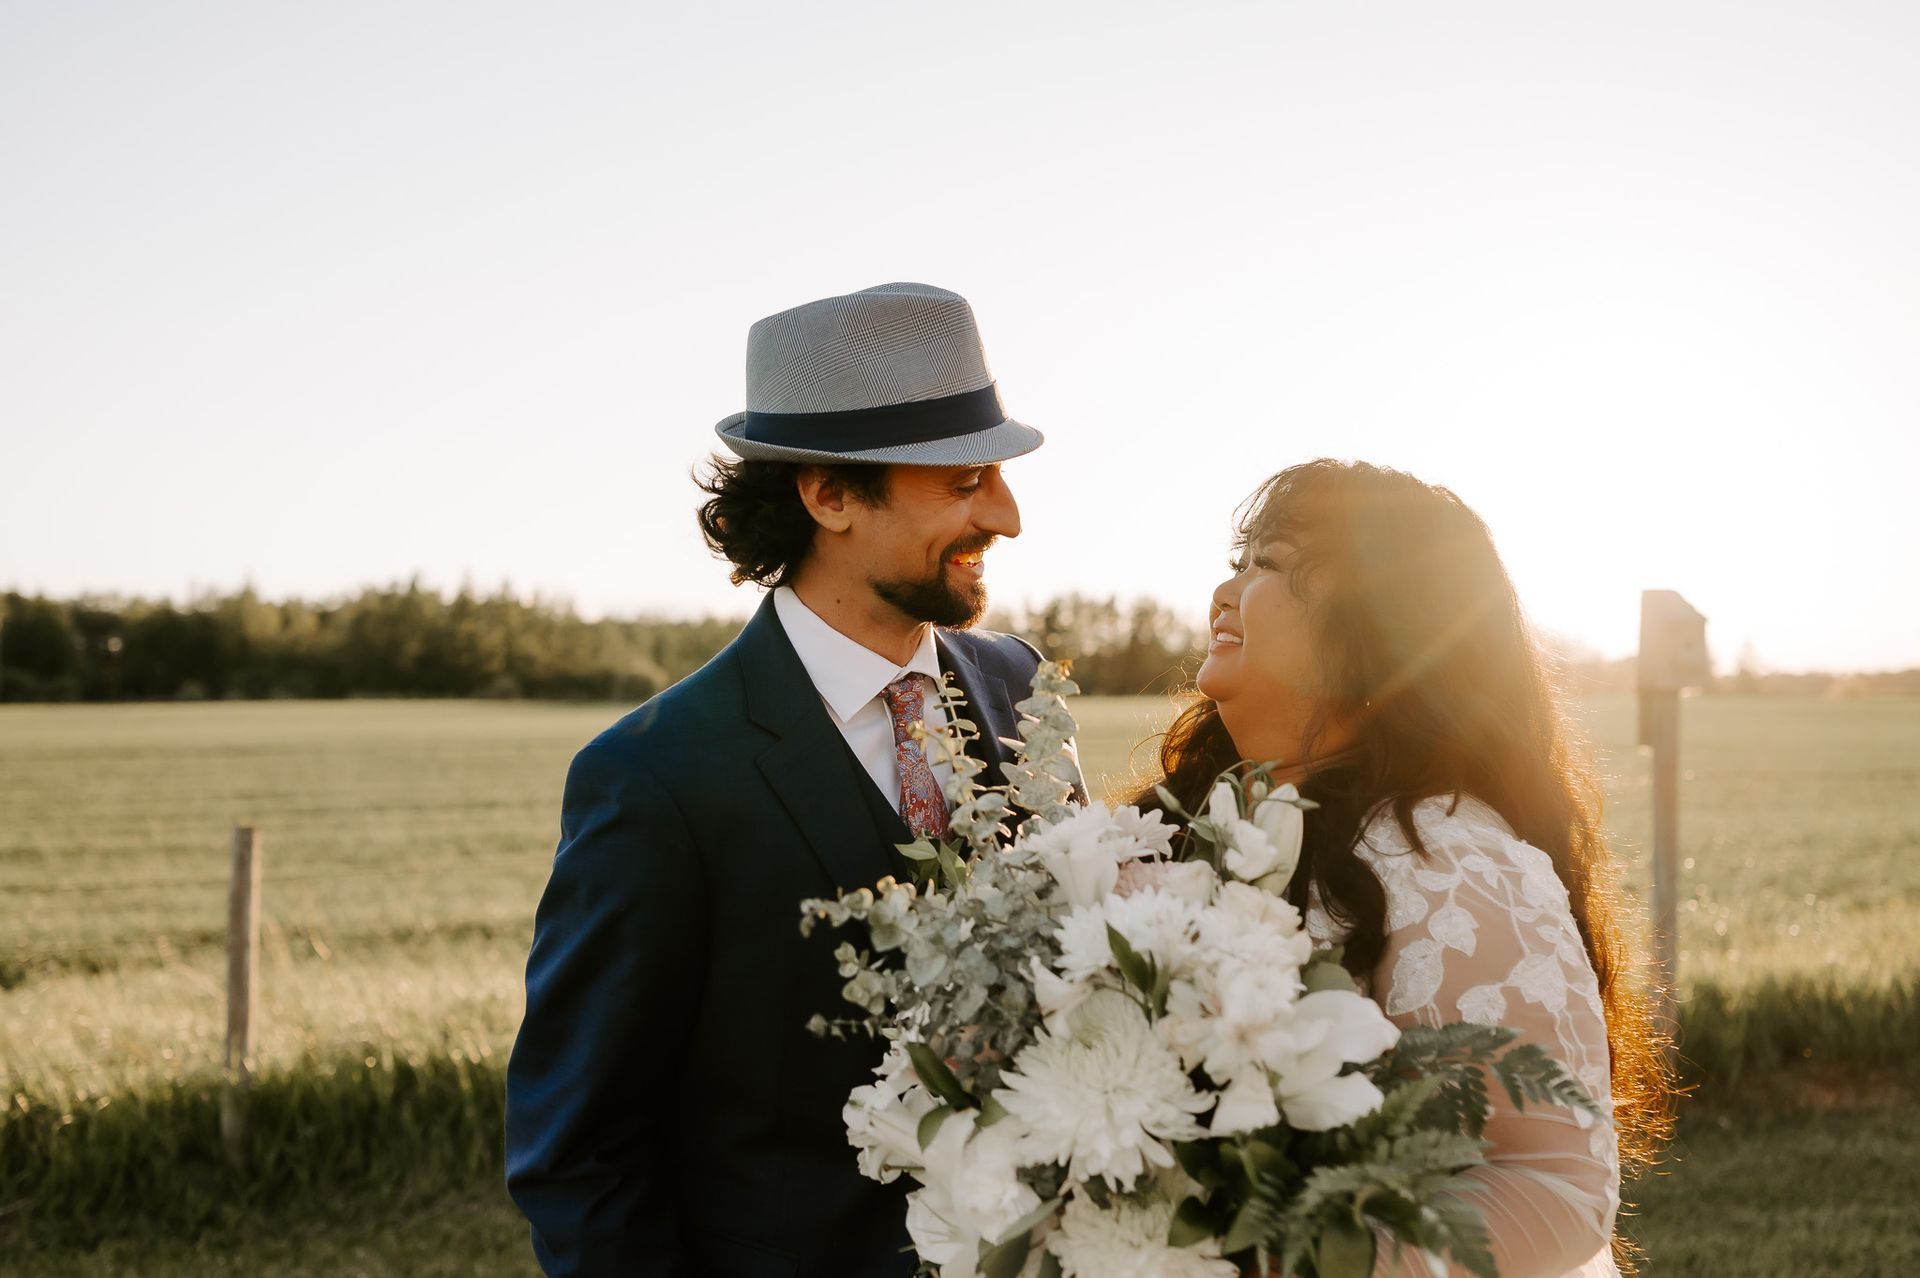
Natural Light
·
The most desirable for photography
because it’s free and abundant.
·
This is where anyone could start
without having to purchase a flash.
·
There are many photographers who
started out with only natural light shots and still have a successful business.
Flash and Artificial Lighting
·
Using a flash brightens your subject in
low-light conditions and gives you full control over shadows and overexposure.
·
Start with a more budget-friendly,
on-camera flash to get used to it.
·
Research and find how-to videos to
understand how to use proper flash techniques and practice by doing.
·
Studio lighting equipment like soft
boxes or continuous lights is great and can give more control over your
lighting.
Light Modifiers
·
Tools like reflectors and diffusers
modify light to create the desired effect.
·
Reflectors bounce light back onto your
subject, filling in shadows, while diffusers soften the light to create a more
flattering effect.
5. Composition Techniques to Enhance Your
Photography
Composition is how you arrange elements
within your frame. Good composition turns a simple photo into a work of art.
Here are some techniques to think about put
very simply:
Rule of Thirds
·
Divide your image into a 3x3 grid
(think, tic-tac-toe).
·
Place your subject along the lines or
at the intersections to make the photo more balanced and interesting.
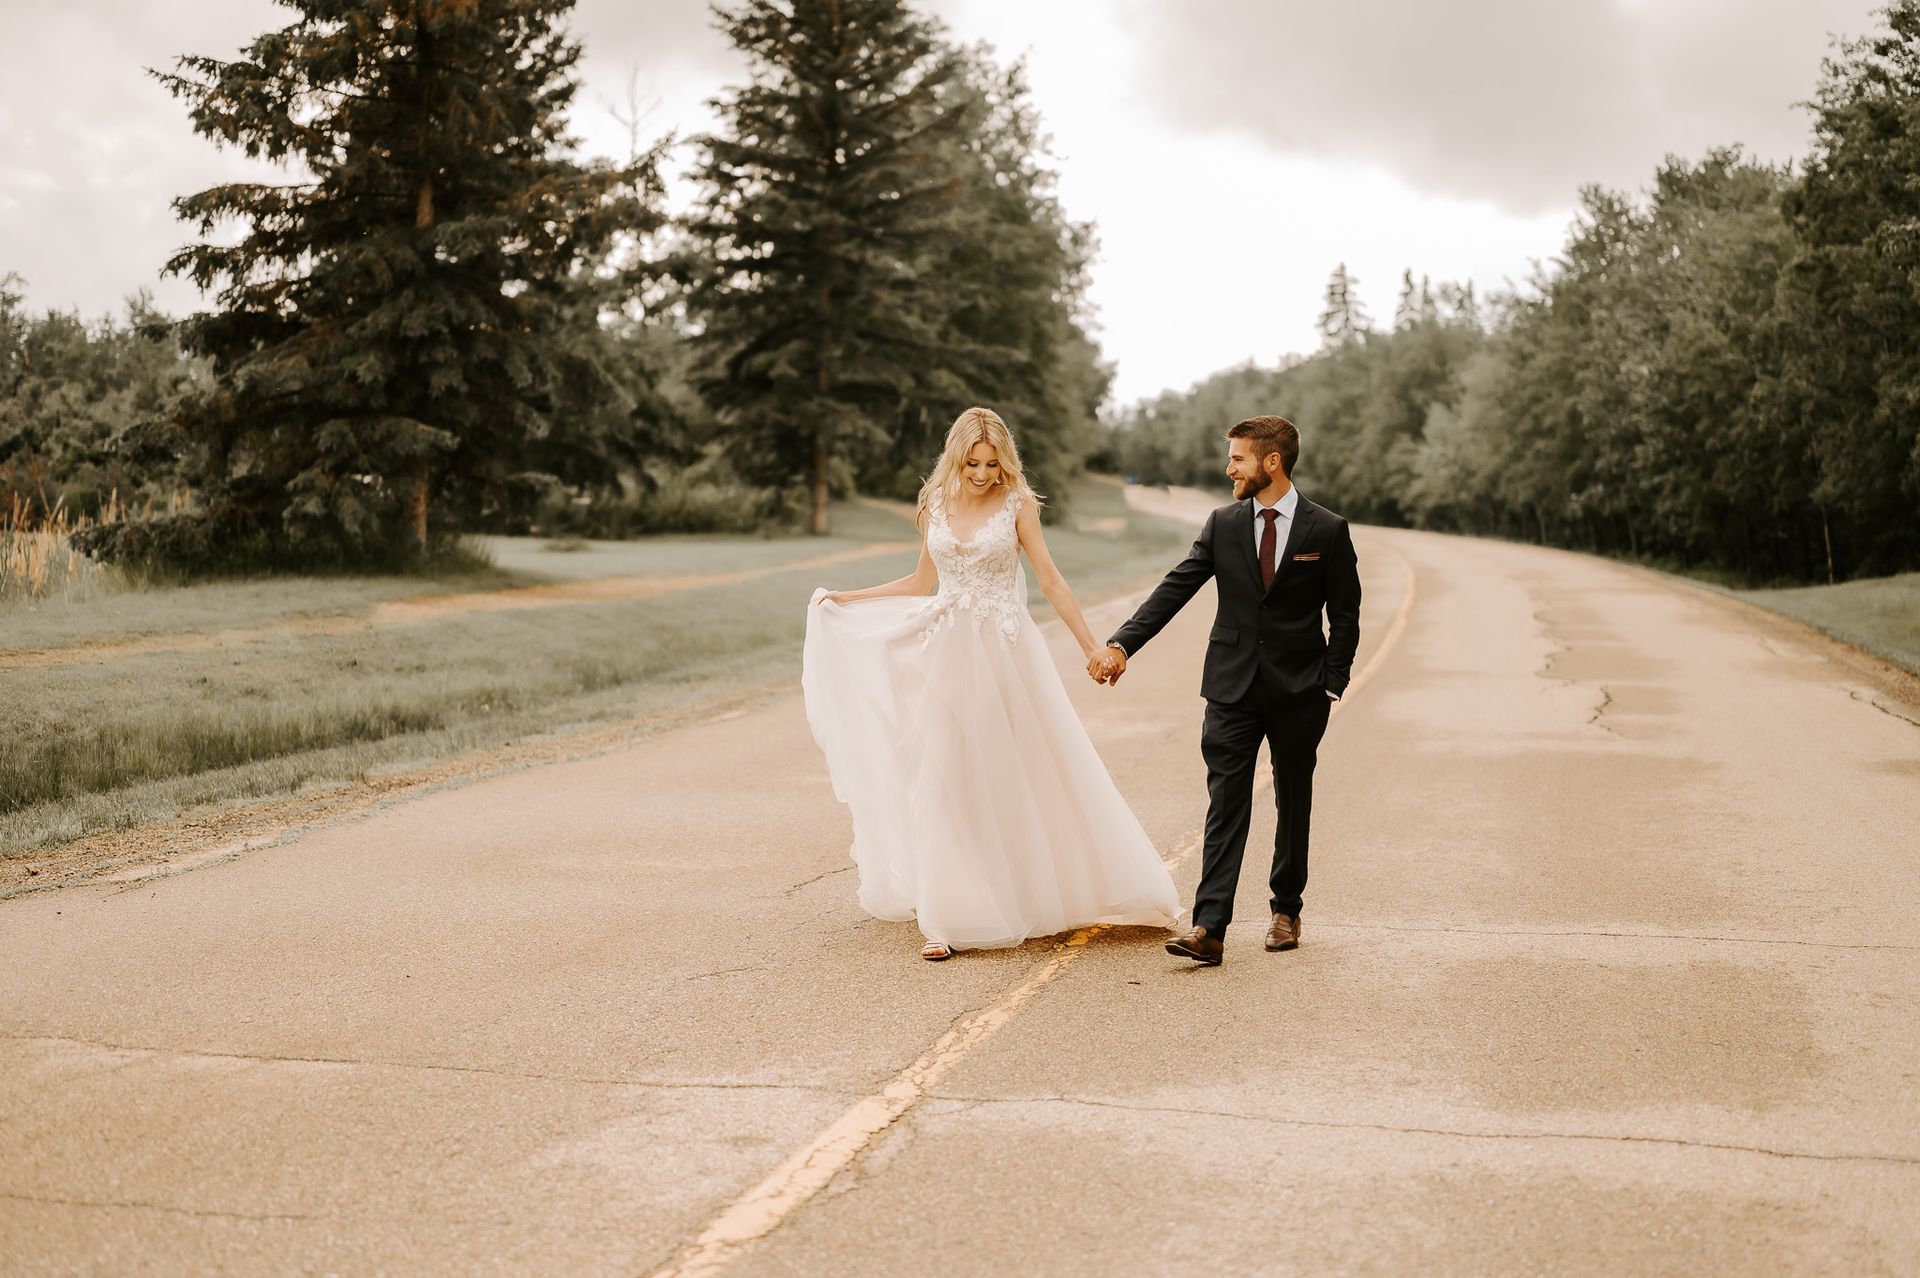
Leading Lines
·
Use lines like roads, rivers, or paths
to guide the viewer’s eye toward the main subject in your photo.
Depth of Field
·
Shallow depth of field:
Focus on your subject while the background is
blurry, making the subject stand out.
·
Deep depth of field:
Everything from the foreground to the background is
sharp and in focus, great for landscapes.
Bokeh
·
The blurry, out-of-focus areas in a
photo that make the subject pop and create a soft, dreamy background.
·
A nice entry-level prime lens will help
you with this beautiful, professional look.
Don’t forget to just take more and more
pictures to get a feel for it.
6. Post-Processing: Enhancing Your Photos
Editing Software
Once you’ve captured your photos,
post-processing takes them to the next level.
Editing allows you to correct exposure,
adjust colors, and reveal details that may not have been apparent in the
original shot.
Learning how to use editing software might
seem daunting in the beginning, but it becomes easier as you practice.
Adobe Lightroom gives you a wide range of
editing options, from basic exposure and colour adjustments to more advanced
retouching.
Image File Types: RAW vs JPEG
Your image file type makes a big difference
in post-processing.
·
RAW Images:
larger files containing more data, giving you more
flexibility and control while editing.
·
JPEG Images
are smaller files, contain less data, and are more
suitable for quick sharing but give less room for adjustments.
·
Pro Tip:
Shoot and edit with RAW files and export as a JPEG.
The more pictures you take, the more you’ll
learn to shoot with correct exposure, contrast, and color balance which allows
your editing and retouching process to be much simpler.
7. Exploring Different Photography Niches
As you grow more comfortable with your
camera and editing skills, you want to explore different photography genres to
find your niche.
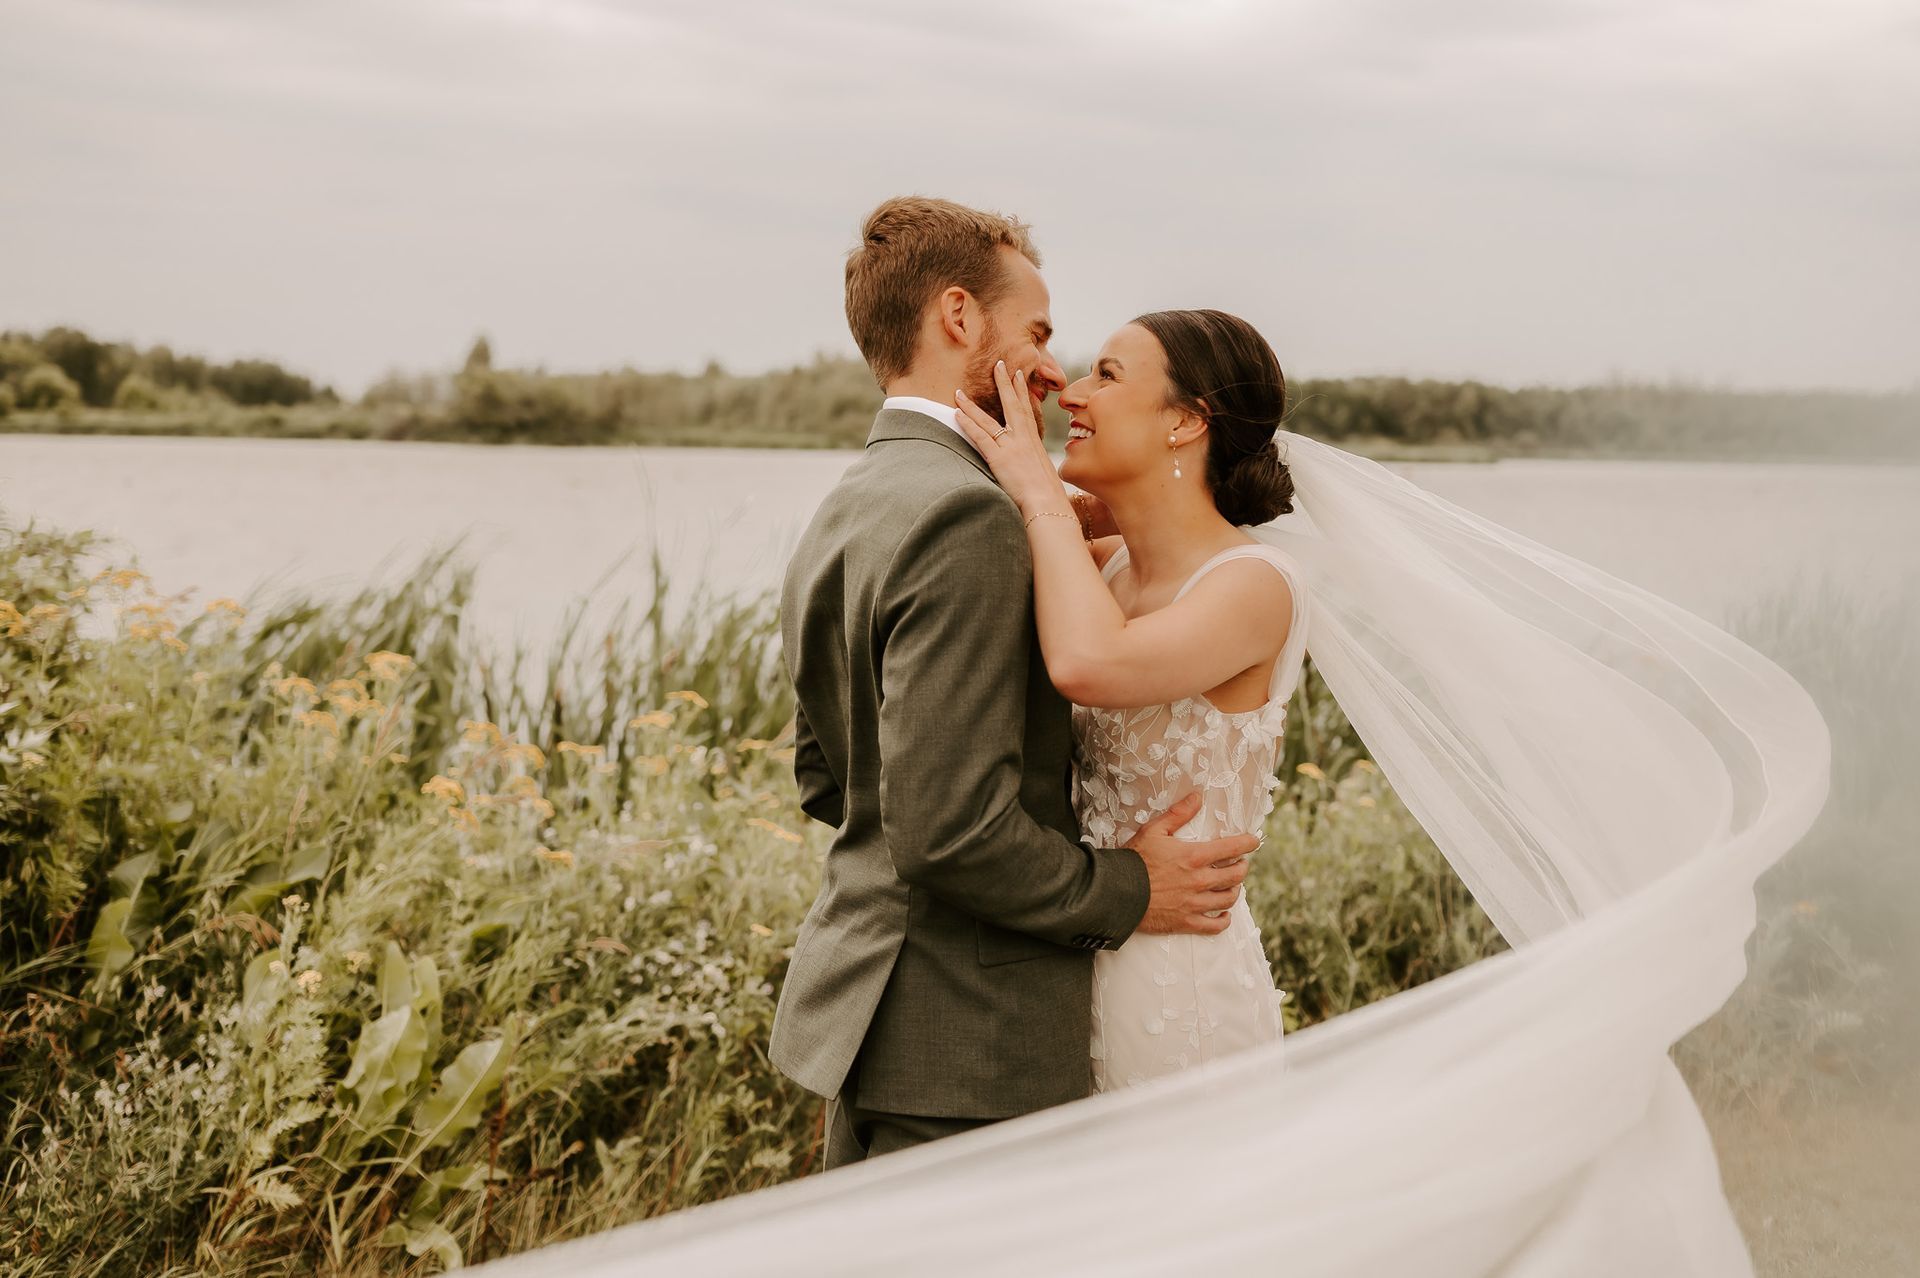
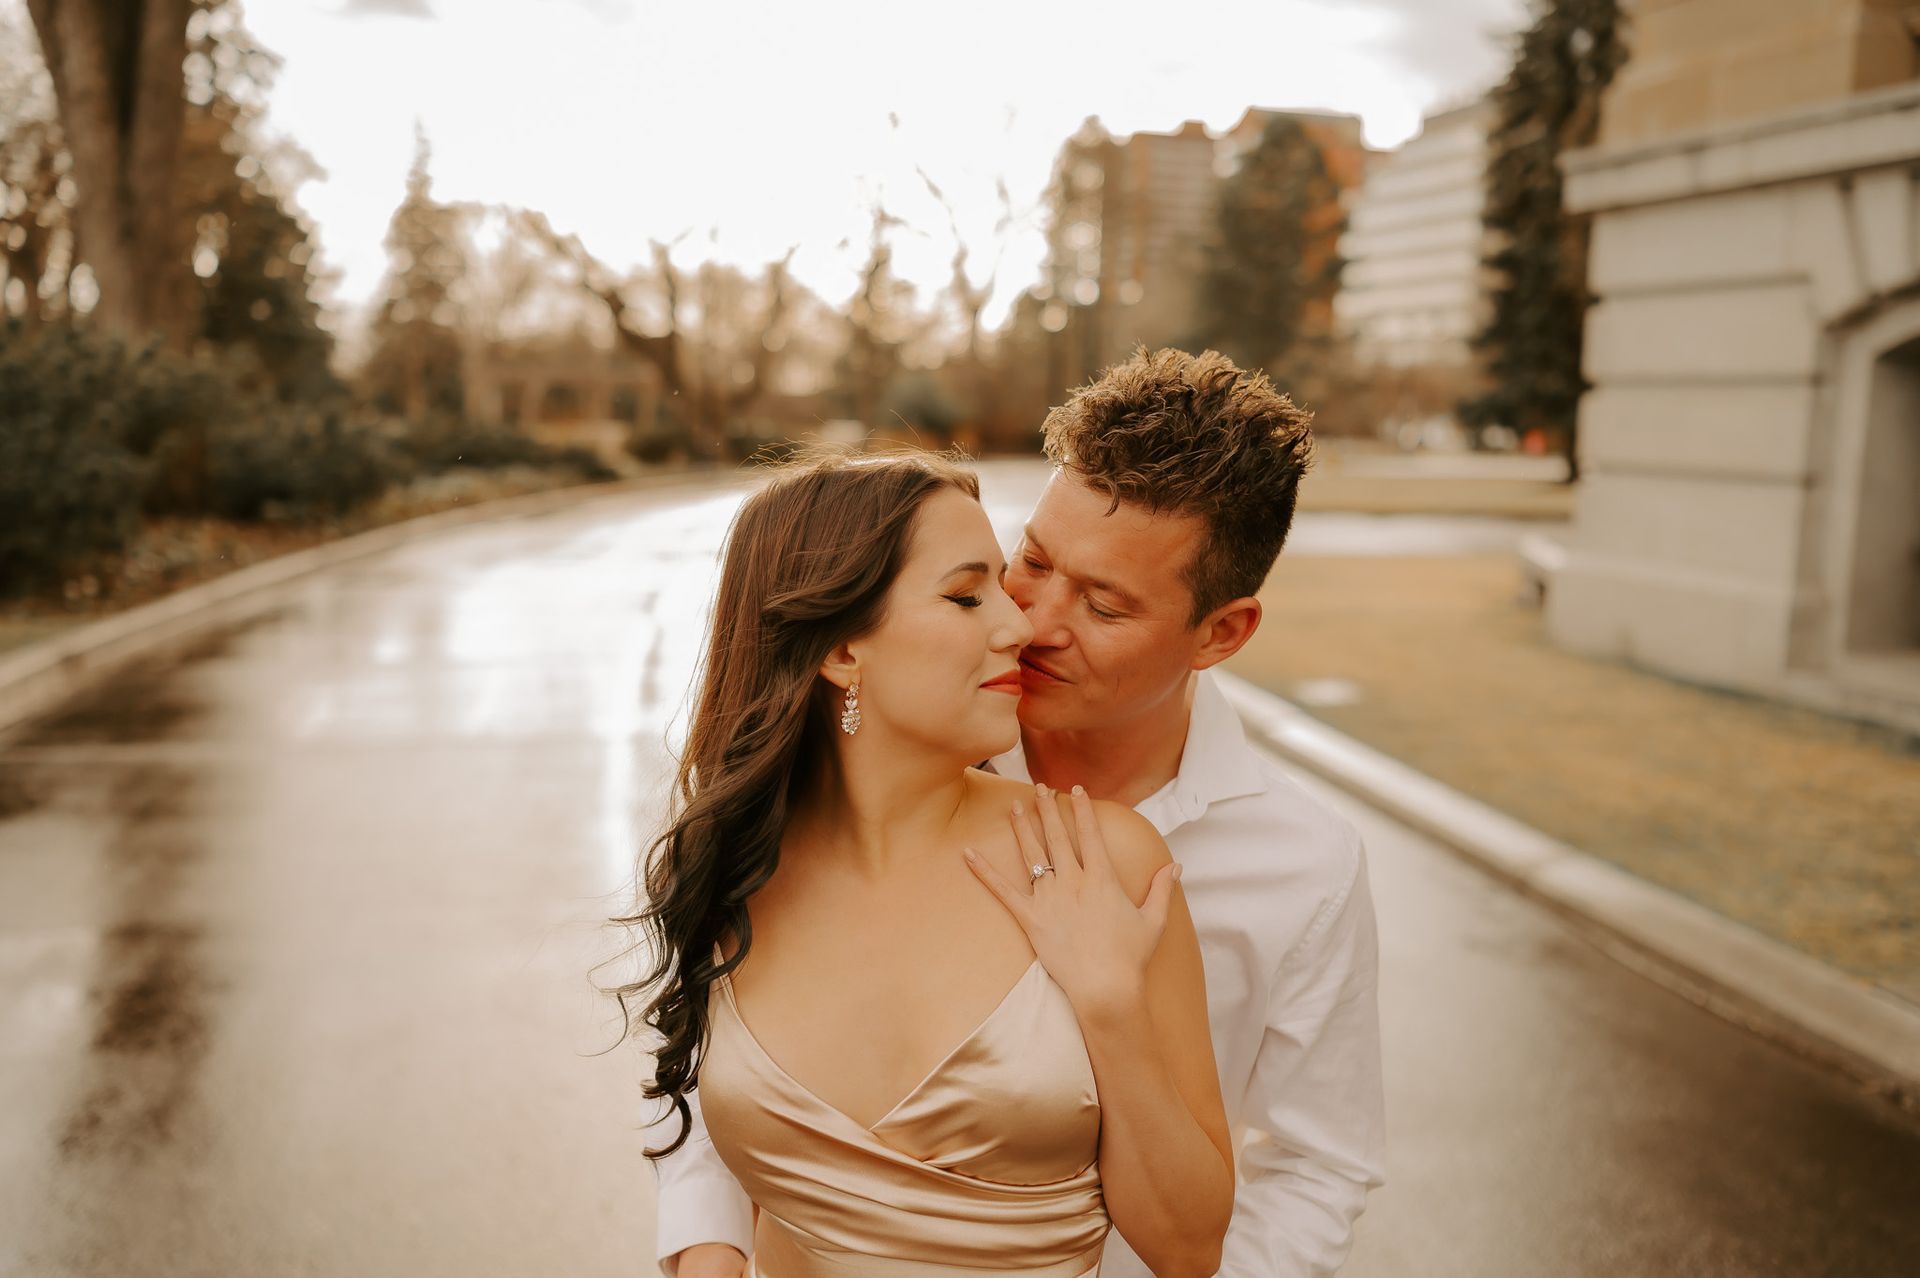
Portrait
Photography
This type of photography is the most lucrative
and simplest to start if the goal is to start a photography business.
You need to have lighting and composition
skills and the ability to connect with your subjects to bring out their
personality.
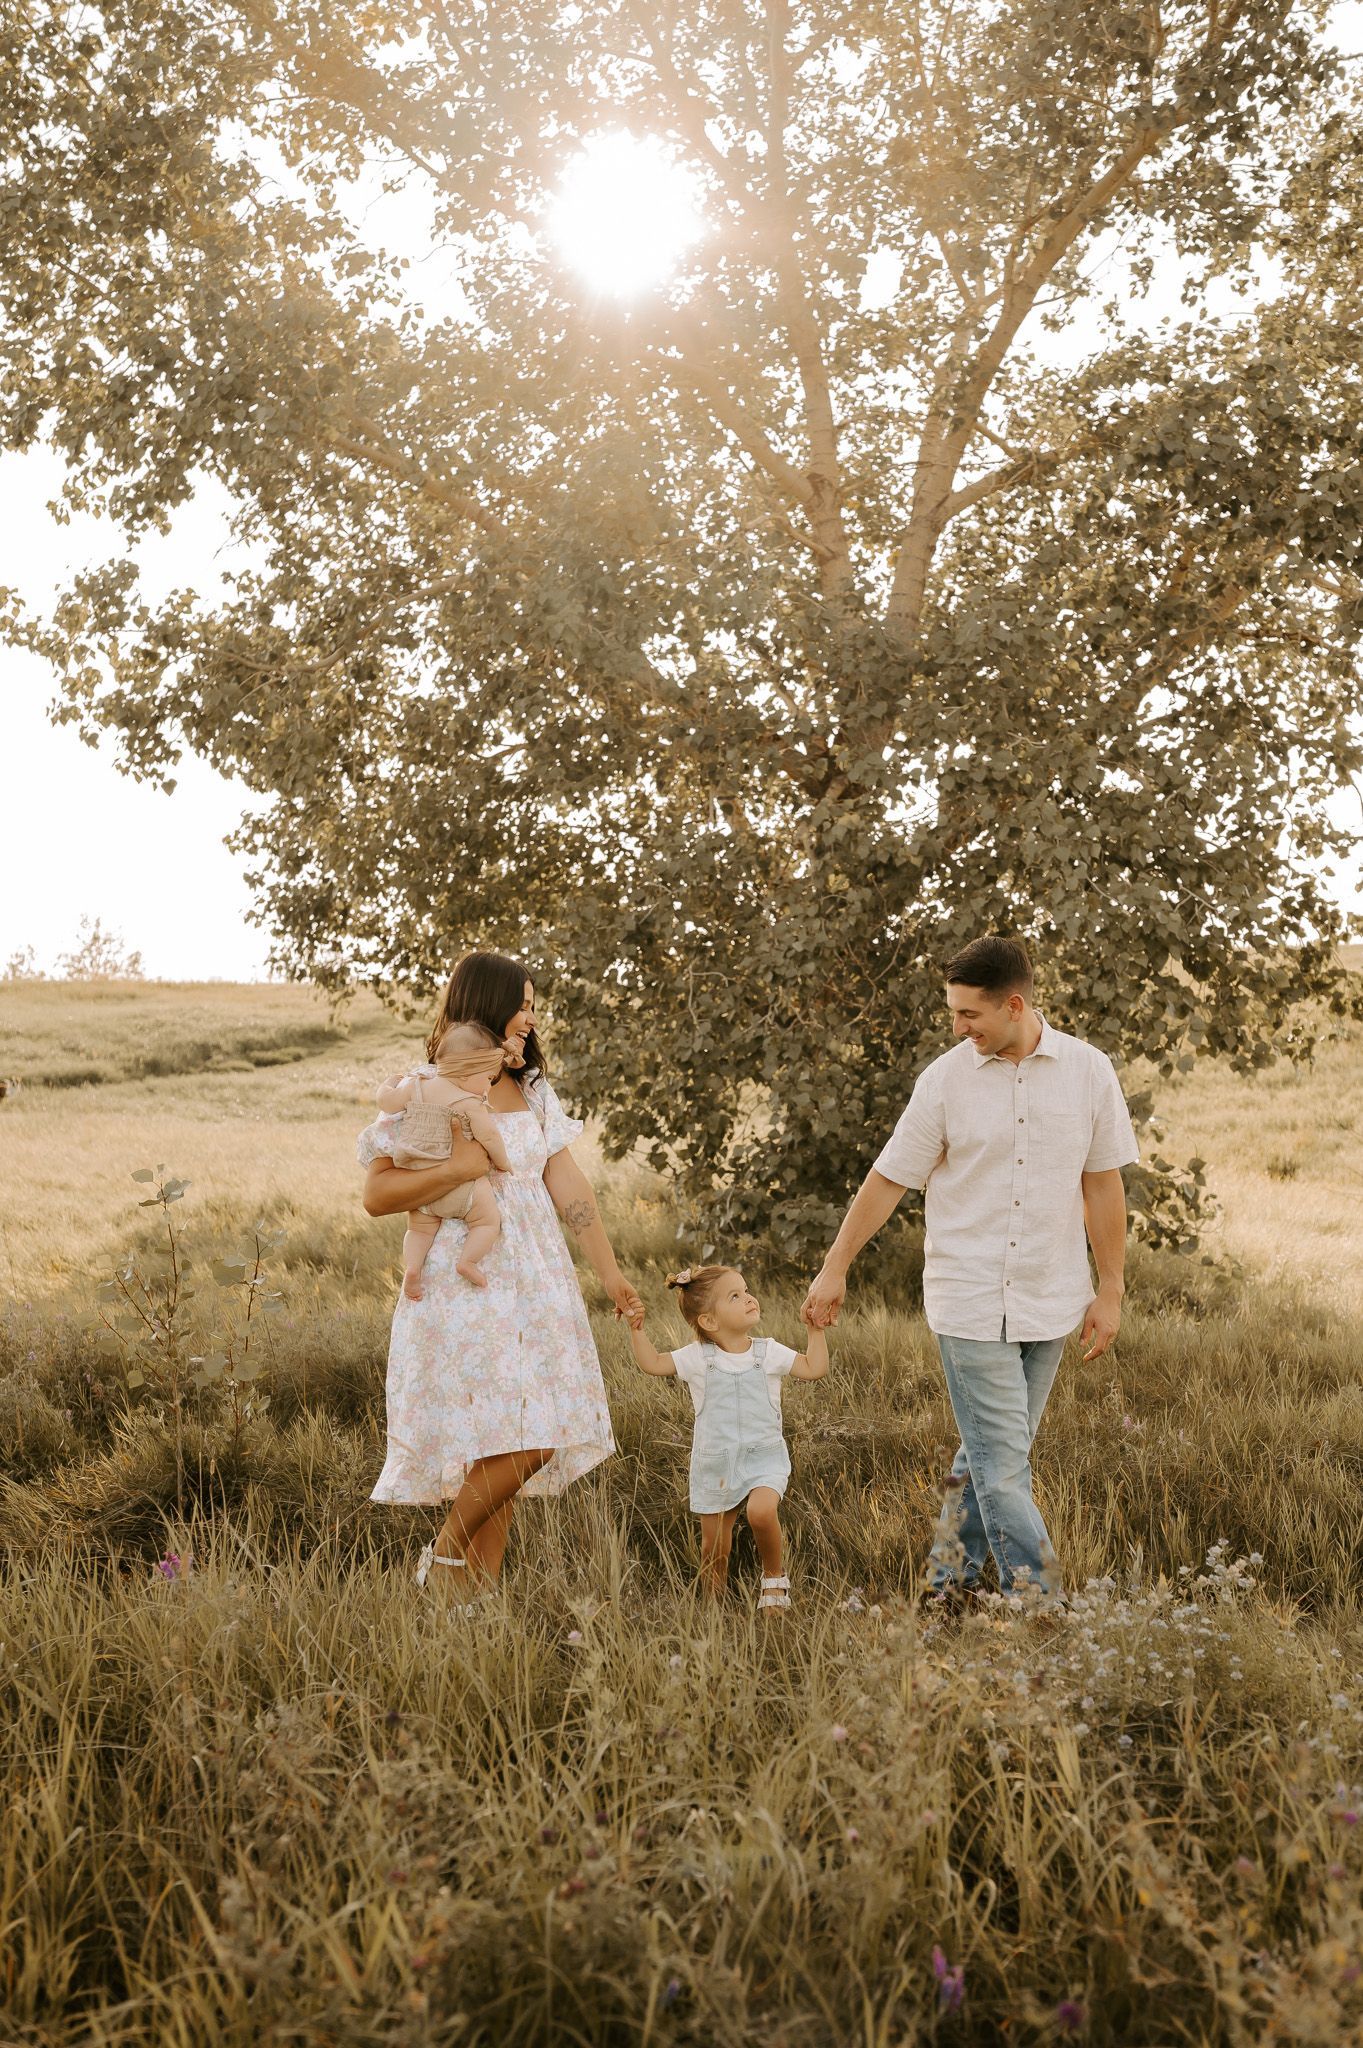
Portraits can include weddings, family,
maternity, headshots and newborn photography.
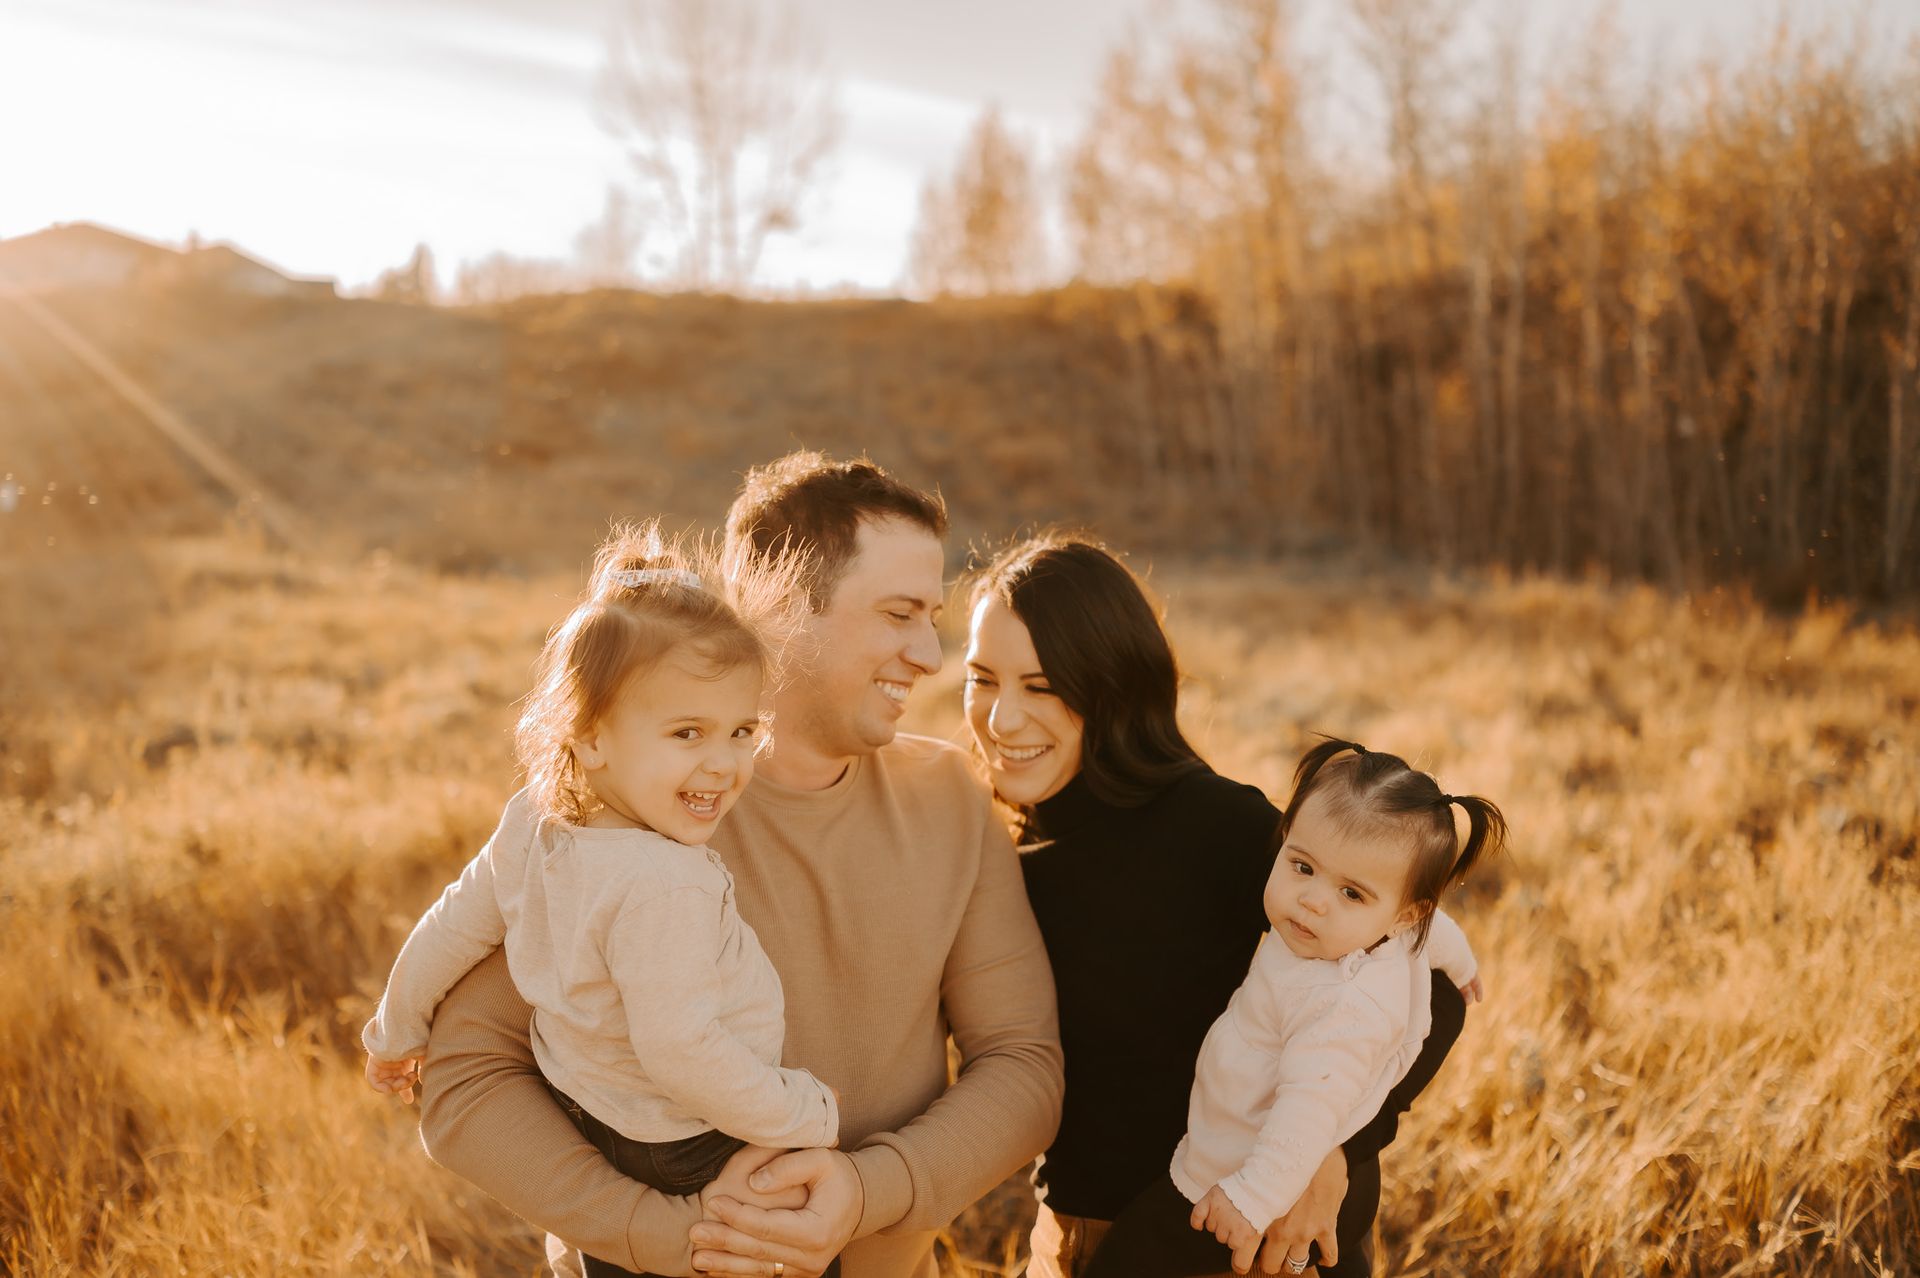
Family photography is where many
photographers start and end up shooting weddings
as a
full-time career.
Landscape
Photography
If you love nature and the outdoors,
landscape photography is a great way to improve your camera skills.
It’s about capturing the beauty of the
natural world, whether it’s a serene forest, a dramatic mountain range, or a
tranquil beach.
Street Photography
Street photography is about capturing real
moments in public places.
You simply get out there, find interesting
scenes, people, and events and let your camera tell a story.
Wildlife
Photography
Challenge yourself to this rewarding genre
that captures animals in their natural habitats.
Although you need specialized equipment
like long telephoto lenses, if you have a lot of patience, and love nature,
this niche is for you.
Food Photography
Your shots will make food look as delicious
as it tastes.
This genre could land you your first
commercial deal in the restaurant industry!
Car Photography
If you love cars, this could be the perfect
door to get into photography.
This car enthusiasts love to show off their
cars, jump into the community with a camera and watch portfolio grow.
8.
Building a Portfolio and Working for Free
Your portfolio is your visual resume, and
building it should be a top priority.
If you must give out free sessions to
friends or family to build your portfolio, do it!
Building a diverse portfolio showcases your
skills and gives you the confidence to take on paid gigs.
Every photographer starts somewhere. Embrace
the process and be prepared to earn ‘your stripes’ by building and showcasing
your completed work.
From there, you can start charging for your
work and earn income.
Don’t take the shots that no one will see.
We know you love to be behind the camera.
But at least, put your work out there.
Online presence is a must for any serious
photographer looking to become a professional.
Grow your social media. Instagram,
Facebook, and Pinterest are powerful tools for photographers.
Open an account, don’t overthink it,
and post your photos!
Start by posting your first sessions, then show
your best work regularly by using relevant hashtags to increase visibility.
Engage with your audience by responding to
comments and participating in beginner photography-related groups.
Launch a website and optimize it with SEO
strategies to make
your website appear in search results for relevant terms like “wedding
photographer [your city]” or “[your city] family photographer.”
A simple basic website to start is better
than no website.
Your online presence is your business card,
don’t be afraid to show your work.
10.
Transitioning from Free Work to Paid Gigs
Once you’ve built
a solid portfolio
and gained some experience, it’s time to start charging
for your services.
Start with reasonable rates, and gradually
increase your prices as you build a reputation.
Remember, the goal is to turn your passion
into a profitable business, so don’t undervalue your work.
Look at local photographers
in your area
with similar experience to check going rates and charge accordingly.
11. Staying Inspired and Evolving as a
Photographer
The best photographers are those who
continuously adapt and grow.
Stay inspired by surrounding yourself with
creative influences by following other photographers on social media, attending
styled photography shoots, and by exploring new locations to shoot.
Embrace the journey, stay curious, and keep
pushing the boundaries of your creativity.
Remember, the photographer who learns by
doing goes further than the researching overthinker.
Go and have fun!
Go Get Started in
Photography
Again, photography is learnable, and the
best way to learn is by doing.
You’ll start off iffy, but you’ll get
better and become a professional if you don’t stop.
Take these 11 ideas as a checklist on your
journey.
Tick off each one as you progress, and you
are on your way to a successful photography career. If that’s what you want.
Even if you simply want to capture
beautiful moments, remember that the key is to keep learning, practicing, and
evolving.
Who’s to say you can’t do both - capture
beautiful moments for fun and still transform your love for photography into a
thriving business?
And let us know how it goes! Shoot us a
message, and we’ll follow your journey!